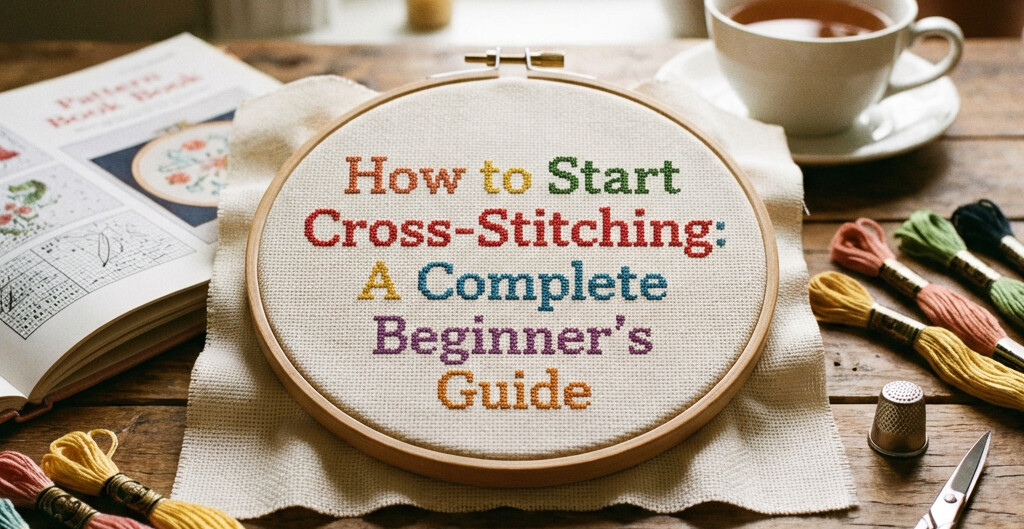
How to Start Cross-Stitching: A Complete Beginner's Guide
Cross-stitching is one of the most accessible and rewarding crafts you can pick up. With just a few basic supplies and some patience, you can create beautiful artwork that lasts a lifetime. This guide covers everything you need to know to make your first stitches.
What Is Cross-Stitch?
Cross-stitch is a form of counted-thread embroidery where you create images by making X-shaped stitches on fabric with an even weave. Unlike freehand embroidery, cross-stitch follows a grid pattern, making it predictable and beginner-friendly.
The technique has been around for centuries, but it's experiencing a resurgence thanks to modern patterns featuring everything from pixel art to custom portraits.
What You'll Need to Get Started
Essential Supplies
Fabric
Aida cloth is the best choice for beginners. It has a visible grid of holes that makes counting stitches simple. Start with 14-count Aida, which means 14 stitches per inch, large enough to see easily but small enough that your finished piece looks detailed.
Embroidery Floss
DMC and Anchor are the two most popular brands. DMC is more widely available and uses a universal numbering system that most patterns reference. A single skein of floss contains 6 strands twisted together, so you'll typically separate these and stitch with 2 strands at a time on 14-count fabric.
Needles
Use tapestry needles (sizes 24 to 26 for 14-count Aida). They have a blunt tip that slides through the fabric holes without splitting the weave.
Embroidery Hoop
A 6-inch hoop is perfect for most beginner projects. It keeps your fabric taut, which makes stitching easier and keeps your tension consistent.
Scissors
Small, sharp embroidery scissors help you make clean cuts close to your work.
Nice to Have
- Needle minder: A magnetic holder that keeps your needle safe when you set your work down
- Pattern holder or tablet: For displaying your pattern while you work
- Good lighting: A daylight lamp reduces eye strain during long stitching sessions
Choosing Your First Pattern
For your first project, look for:
- Low stitch count: Aim for something under 50×50 stitches
- Few colours: 3 to 5 colours is ideal to start
- Simple shapes: Geometric patterns or basic motifs are forgiving
- Full coverage: Patterns that fill the whole area hide beginner mistakes better than sparse designs
Bookmarks, small ornaments, and simple motifs make excellent first projects. You'll finish quickly and build confidence before tackling larger pieces.
How to Read a Cross-Stitch Pattern
Cross-stitch patterns are displayed as a grid where each square represents one stitch. Patterns include:
- A colour key: Shows which symbol corresponds to which thread colour
- Stitch count: The total dimensions (e.g., 40w × 50h means 40 stitches wide by 50 tall)
- Suggested fabric and thread count
Start stitching from the centre of both your fabric and pattern. This ensures your design ends up centred with even margins on all sides.
Making Your First Stitches
The Basic Cross-Stitch
- Come up through the fabric at the bottom-left hole of your first stitch
- Go down diagonally at the top-right hole (this creates the first half: /)
- Come up at the bottom-right hole
- Go down at the top-left hole (completing the X)
Key Technique: Consistent Direction
Always make your stitches in the same direction. Most stitchers go bottom-left to top-right first (/) then bottom-right to top-left (\). It doesn't matter which way you choose, just be consistent. This gives your finished piece a uniform, polished look.
Working in Rows
Rather than completing each X individually, many stitchers work in rows:
- Stitch all the forward slashes (////) across the row
- Come back and complete the crosses (\\) on the return journey
This is faster and creates even tension across your work.
Common Beginner Mistakes and How to Avoid Them
Pulling too tight
Your stitches should lie flat against the fabric without puckering it. If your fabric is warping, loosen your tension.
Knotting your thread
Knots create lumps that show through your fabric. Instead, leave a 1-inch tail on the back and stitch over it to secure, or use a loop start if working with an even number of strands.
Starting at the corner
Always start from the centre. This prevents running out of fabric on one side.
Using all 6 strands
Remember to separate your floss. Using all 6 strands on 14-count Aida will look bulky and be difficult to pull through the fabric.
Finishing Your Project
Once you've completed all your stitches:
- Wash gently in cool water with mild soap to remove oils and any transfer marks
- Press carefully face-down on a towel with a warm iron
- Frame or finish as desired: hoops, frames, or sewn into pillows and ornaments all work well
What's Next?
Once you've completed a few small projects, you might want to:
- Try different fabric counts (18-count gives finer detail)
- Experiment with speciality stitches like backstitching for outlines
- Take on larger, more complex patterns
- Create custom patterns from your own ideas
At HobbyTub, you can generate unique cross-stitch patterns using AI, just describe what you want to create, and we'll generate a stitchable pattern complete with colour palette and dimensions. It's a great way to make something truly personal once you've mastered the basics.
Start Stitching
Cross-stitch rewards patience. Your first few stitches might feel clumsy, but muscle memory develops quickly. Within an hour, you'll find a rhythm. Within a project or two, you'll understand why this centuries-old craft continues to captivate makers around the world.
Pick up a simple kit or gather your supplies, find a comfortable spot with good light, and make your first X.