
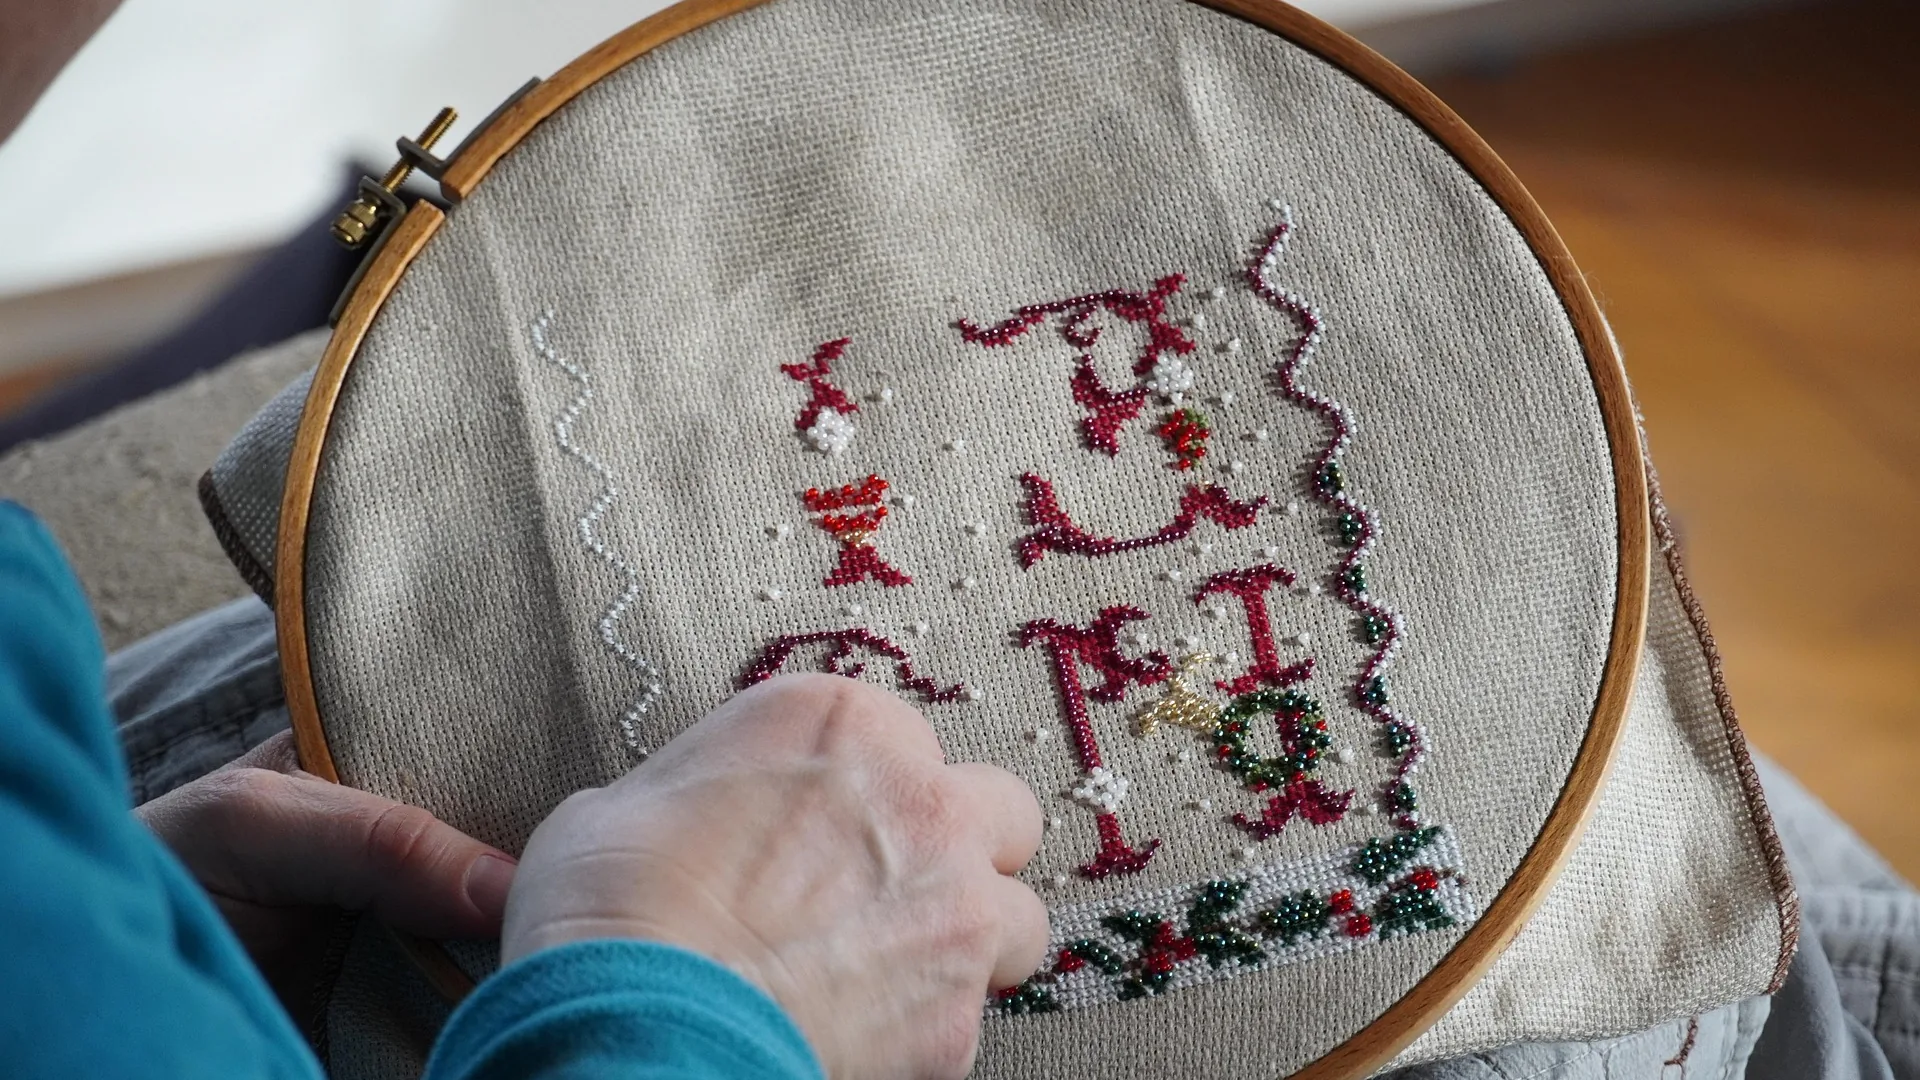
Starting and Finishing Threads Without Knots
It is tempting to tie a quick knot to anchor your thread and get stitching. Resist it. Knots make the back of your work bumpy, they can work loose over time, and on finished pieces they sometimes show through to the front as a small lump. The good news is that starting and finishing neatly is easy once you know a few methods. Here are the ones worth learning.
Why avoid knots
A tidy back is not just about pride, although a neat reverse is genuinely satisfying. There are practical reasons too:
- Knots create bumps that show through when the piece is framed or pressed
- They can come undone, letting a whole section unravel
- They make the fabric sit unevenly, which matters if you plan to frame the work
Knot-free methods hold just as securely and keep both sides of your fabric flat.
The loop method
This is the neatest start of all, and perfect when you are stitching with an even number of strands, most commonly two.
- Take one strand of thread, twice as long as usual, and fold it in half
- Thread the two loose ends through your needle, leaving the folded loop at the other end
- Bring the needle up through the fabric for your first stitch, but do not pull it all the way through. Leave the loop poking out at the back
- Make the first diagonal of your cross stitch and take the needle down
- On the back, pass the needle through the loop and gently pull. The loop anchors the thread instantly
You now have a completely knot-free, secure start with no loose tail to weave in. The loop method only works with an even number of strands, because you are folding one strand into two.
The away waste knot
When the loop method does not suit, for example when you stitch with a single strand or an odd number, the away waste knot is a reliable alternative.
- Tie a knot in the end of your thread
- Push the needle down through the front of the fabric a few centimetres away from where you will start, in an area you will stitch over later
- Come up and begin stitching normally. The knot sits on the front, holding the thread
- Once you have stitched over the trailing thread on the back, snip off the knot from the front
The trapped thread is held firmly by the stitches you worked over it, and the knot never stays in the finished piece.
Weaving in to finish
To end a thread, you weave it into the back of your existing stitches:
- Turn the work over and slide your needle under four or five stitches on the back
- Pull the thread through, then snip it close to the fabric
- Weaving under a row of the same colour hides the tail completely
Weaving in the same direction as a run of stitches keeps everything flat. Avoid trailing a tail across bare fabric to reach the next area, especially with dark threads on pale fabric, because it can shadow through to the front.
Starting a new thread mid-design
Once part of your design is stitched, starting a fresh thread is even easier. Simply weave the new thread under a few existing stitches of the same colour on the back, exactly as you would when finishing, then bring the needle up and carry on. No knot needed.
Keeping the back tidy overall
A few extra habits keep the reverse of your work clean:
- Do not carry thread more than a few stitches across the back. Finish off and restart instead.
- Weave under matching colours where you can, so tails do not show through.
- Trim tails close once they are secured, so loose ends do not tangle into later stitching.
A tidy back is a sign of relaxed, even stitching, and it makes finishing, pressing and framing far easier later on. If you are still building the basics, our guide on how to read a cross stitch pattern is a good companion, and you can find beginner-friendly designs to practise on in the pattern catalogue.
Skip the knots, learn the loop method, and your work will look neater on both sides from your very next project.