
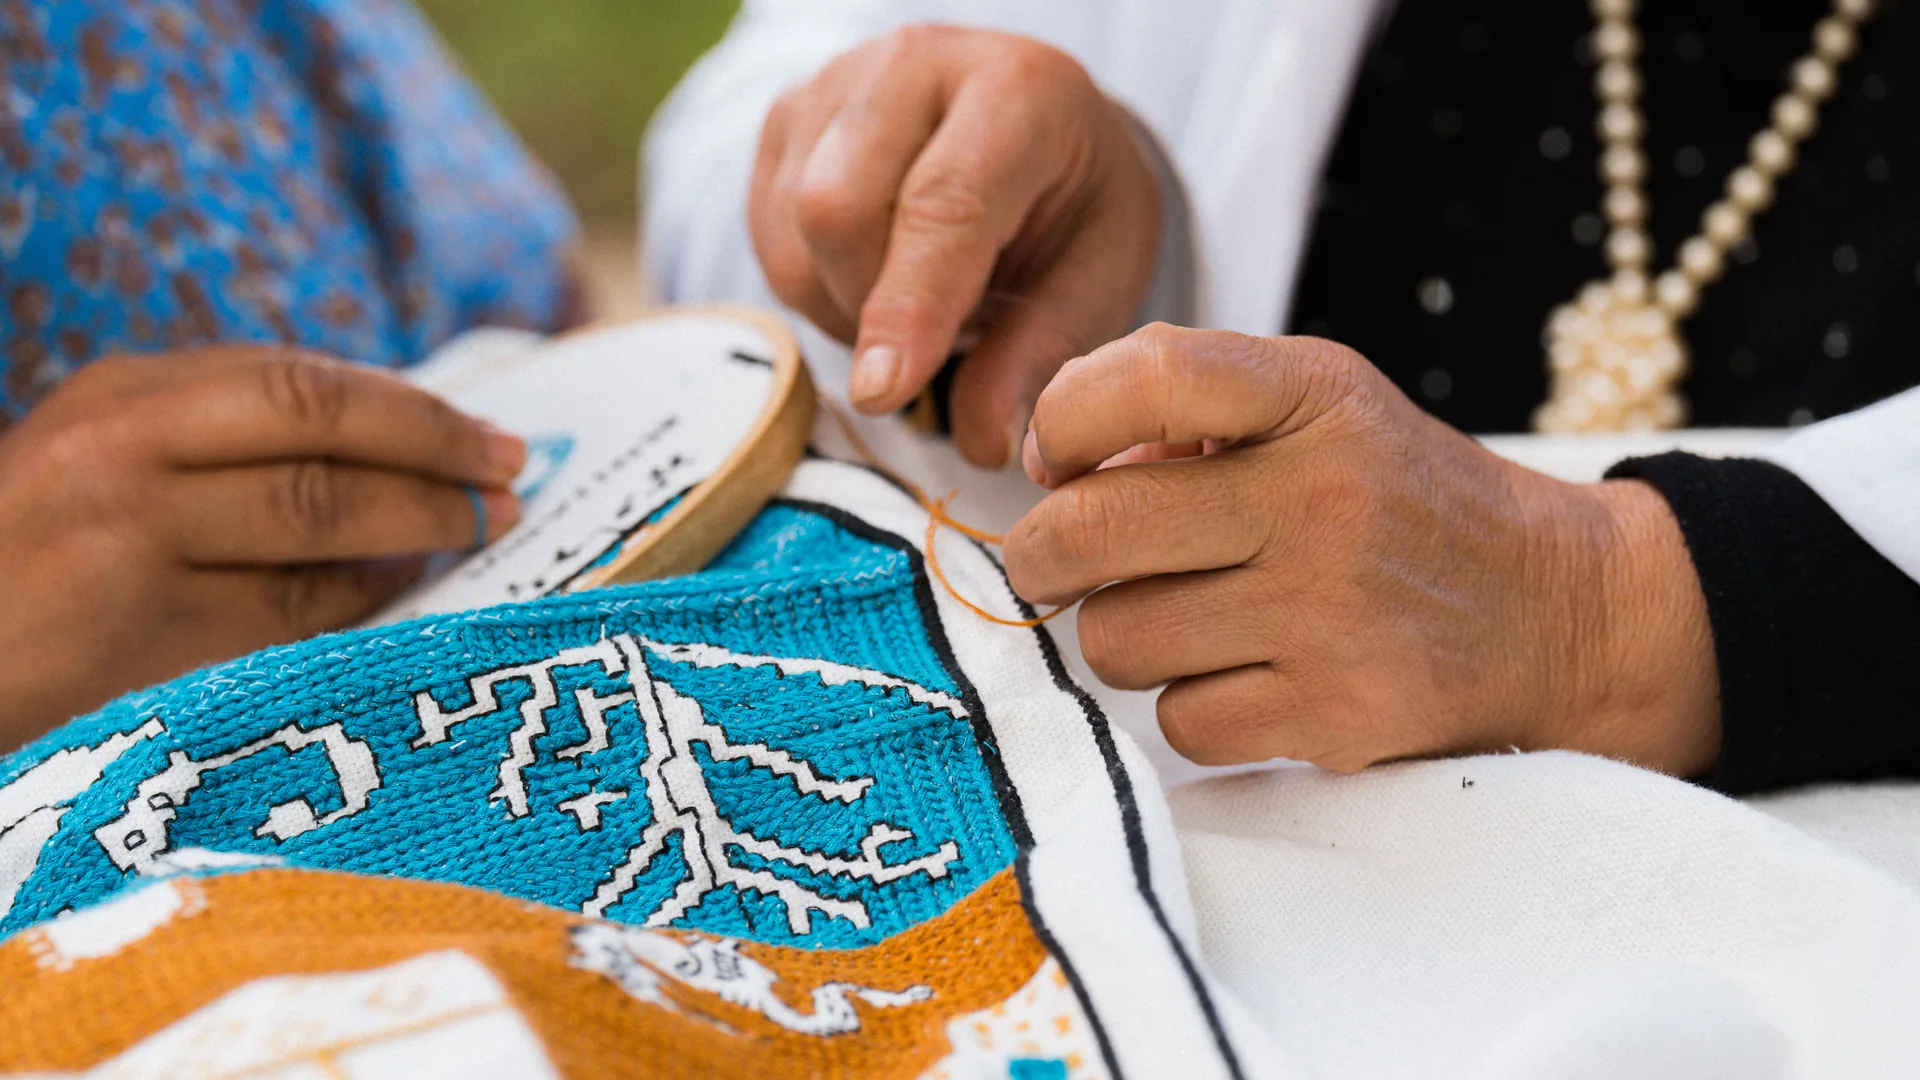
What Is Backstitch, and How to Stitch It Neatly
If your finished cross stitch ever looked a little soft or fuzzy around the edges, backstitch is almost certainly the thing that was missing. It is the outline that defines shapes, adds lettering and brings fine detail to a design. Here is everything you need to know to stitch it neatly.
What backstitch actually is
Backstitch is a simple line stitch. You bring the needle up, take it back down one space behind where you came up, and keep working backwards along a line. Each new stitch fills the gap left by the last one, which creates a continuous, unbroken line rather than a dashed one.
In cross stitch, backstitch is usually worked on top of finished cross stitches, and almost always as the very last step of a project. It sits along the grid lines of your fabric, outlining shapes, separating one colour from another and adding things like whiskers, stems, text and fine features.
How backstitch appears on a chart
On a chart, cross stitches live inside the squares, but backstitch is drawn as solid straight lines along the edges of the squares. Follow those lines exactly and your outline will match the design.
Backstitch lines can run in any direction:
- Horizontally or vertically along a grid line
- Diagonally across a square from corner to corner
- In short segments that join up to form curves and letters
The pattern key will tell you which thread colour to use for each line. Outlines are often a darker shade of the area they surround, or a single dark colour used across the whole design.
How to work a neat backstitch
The technique itself is quick to learn:
- Bring your needle up one stitch length along the line you want to follow
- Take it back down at the start of that line, into the hole at the end of the previous stitch
- Bring it up again one stitch length ahead
- Repeat, always stitching back into the hole where the last stitch ended
The secret to a clean line is to share holes. Each stitch should start and end in the same holes as its neighbours, with no gaps and no overlaps.
Keeping curves and corners crisp
Long straight lines are easy. Curves and corners are where neatness is won or lost:
- Keep your stitches short around curves. A curved line made of many small stitches looks smooth, while a few long stitches look angular.
- Follow the chart square by square rather than guessing the shape. The pattern has already worked out the smoothest path.
- Do not jump long distances on the back of the fabric. If the next section of outline is far away, finish off and start again rather than trailing thread, which can show through pale fabric.
How many strands to use
Backstitch is usually worked with fewer strands than the cross stitches. If you stitched the design with two strands, one strand of backstitch often gives a finer, more refined outline. Thicker outlines with two strands can look bold and graphic, which suits some designs. When in doubt, follow the pattern, and if it does not specify, stitch a small test to see which you prefer. Our guide on how many strands to use goes into more detail.
Common backstitch mistakes
A few habits trip up beginners:
- Stitching backstitch too early. Always add it after the cross stitches are finished, or the outline can disappear under later stitches.
- Making stitches too long to save time. Long stitches snag and lose the crisp grid-aligned look.
- Pulling too tight, which puckers the fabric and distorts the line.
- Carrying dark thread across pale areas, where it shows through as a shadow. Finish and restart instead.
Designing your own backstitch
Backstitch is not only for following someone else's chart. It is also one of the most satisfying tools when you design your own patterns. In the HobbyTub pattern editor you can add backstitch lines directly onto your design to outline shapes and add lettering, alongside French knots and beads, then see exactly how the finished chart will look. If you enjoy making your own patterns, explore the pattern catalogue to see finished examples and start a project of your own.
Backstitch is a small technique with a big payoff. Master a neat, even line and every project you finish will look sharper and more professional.